
IT知識の貯蔵庫
WordPressテーマ制作-ステップ11-index.php作成2
テキストだけ表示されているよりも画像があった方が良いですよね。ここではindex.phpの記事の一覧にアイキャッチ画像を出力する方法です。
アイキャッチ画像を設定したい場合はfunctions.phpに次のコードを記述します。
<?php if (function_exists('add_theme_support')) { add_theme_support('post-thumbnails'); } ?>
次はindex.phpの変更です。前回ソースがこんな感じになっています。
<div id="contents"><?php if ( have_posts()): ?>
<h2>コンテンツ名</h2>
<ul>
<ul>
<li><a href="#"> <img alt="デフォルト画像" src="images/the_post_thumbnail_default.png" /> </a>
<h3><a href="#">記事見出し</a></h3>
<span><a href="#">日付</a></span> <span><a href="#">カテゴリー</a></span></li>
</ul>
</ul>
<?php endif; ?>
</div>
これの7〜9行目の画像の出力部分を次のコードに置き換えます。
<a href="<?php the_permalink(); ?>">
<?php if ( has_post_thumbnail() ) :
the_post_thumbnail('thumbnail');
else :
echo '<img alt="デフォルト画像" src="'; bloginfo( 'template_url' ); echo '/images/the_post_thumbnail_default.png" ?>';
endif; ?>
</a>
まずリンク設定を<?php the_permalink(); ?>とします。
次にhas_post_thumnail関数でアイキャッチ画像が設定されていればサムネイルを出力、設定されていなければデフォルトの画像を出力するように記述します。<?php if ( has_post_thumbnail() ) : ~ endif; ?>まで。
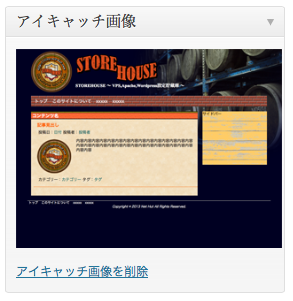
アイキャッチ画像を設定できるようにする場合は、記事投稿ページの「表示オプション」で「アイキャッチ画像」の項目にチェックをしておく必要があります。
アイキャッチ画像を設定すると次のようにサムネイル化された画像が表示されます。
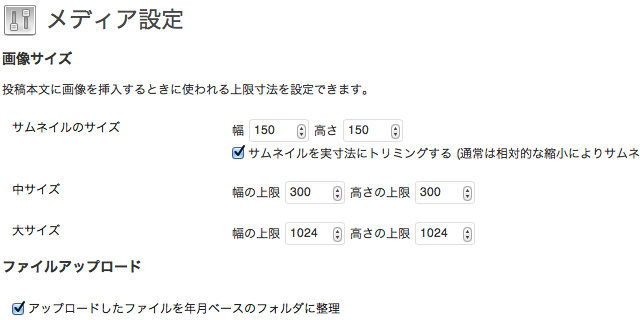
サムネイル画像の大きさは設定->メディアで変更できます。


コメントを残す